DriveUploader allows you to set an expiration date for an uploader. After the selected time period, the uploader will stop accepting new uploads.
This is useful when collecting files only for a limited time, such as assignments, registrations, or event submissions.
Setting the expiration date
- Log in to your DriveUploader account.
- Go to My uploaders.
- Find the uploader for which you want to set an expiration date.
- Click Configure expiration next to the uploader.
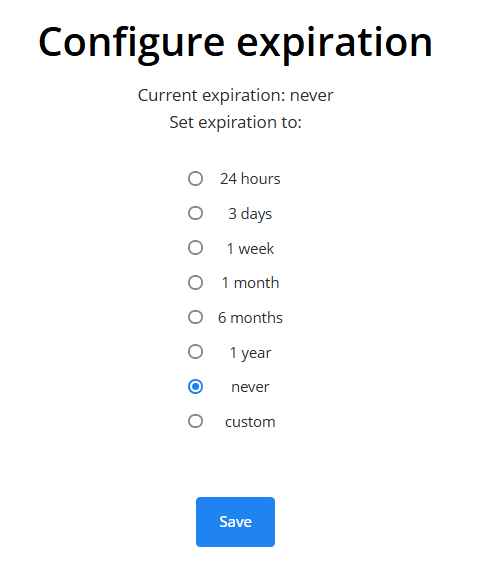
A configuration window will open where you can choose when the uploader should expire.
Choosing the expiration period
In the Configure expiration window, select how long the uploader should remain active. DriveUploader provides several preset time options, as well as a custom option if you want to set your own expiration date.
After selecting the desired option, click Save.
Expiration on the Free plan
On the Free plan, uploaders automatically expire after 24 hours. This means that if you do not change the expiration settings, the uploader will become inactive one day after it is created.
If your uploader expired sooner than expected, it is likely because you are using the Free plan. Upgrading to a paid plan allows you to set longer expiration periods or remove the expiration entirely.
What happens after the uploader expires
When the expiration time is reached:
- The uploader will stop accepting new uploads.
- Users visiting the uploader will no longer be able to submit files.
- Files that were already uploaded remain stored in your Google Drive.
You can reactivate the uploader at any time by changing the expiration setting.
