This tutorial shows how to embed a DriveUploader into your Wix website so visitors can upload files directly from your page.
Why use a file uploader on your Wix website?
A file uploader allows anyone to submit content directly to your Google Drive, such as images, videos, documents, and other files. Adding a file upload field to your Wix website can save you time and reduce the need for manual communication with users.
Using a file uploader enables user-generated content such as testimonials, reviews, images, or videos. There are many practical use cases across different industries:
- Job applications submitted through your website can be saved directly to a selected folder in Google Drive.
- Extension of your ordering process when you need users to upload files (common for print shops or creative services).
- Collecting reviews or testimonials from customers.
- Customer support uploads, where users attach documents to help resolve issues.
- Uploaders for schools and universities to simplify assignment collection.
- Collecting photos and videos from events such as weddings, holidays, or community activities.
There are many ways to use a file uploader, and it can significantly simplify how you collect and manage files.
Before you start
Make sure you have:
- A created uploader in DriveUploader.
- Access to your Wix website.
- A PLUS plan or higher (required for embedding).
Step 1: Create your uploader
Before embedding, you need to create an uploader in DriveUploader.
- Log in to your DriveUploader account.
- Go to My uploaders.
- Click New uploader.
- Choose Online file uploader.
- Select your destination folder and save the uploader.
Step 2: Enable embedding
- Go to My uploaders.
- Find your uploader and click Edit.
- Navigate to the Embed tab.
- Turn on Enable embedding.
Embedding will not work unless this option is enabled.

Step 3: Copy the embed code
- In the Embed tab, copy the iframe code.
- Keep it ready for the next step.
Step 4: Add the uploader to Wix
- Open your Wix editor.
- Navigate to the page where you want to place the uploader.
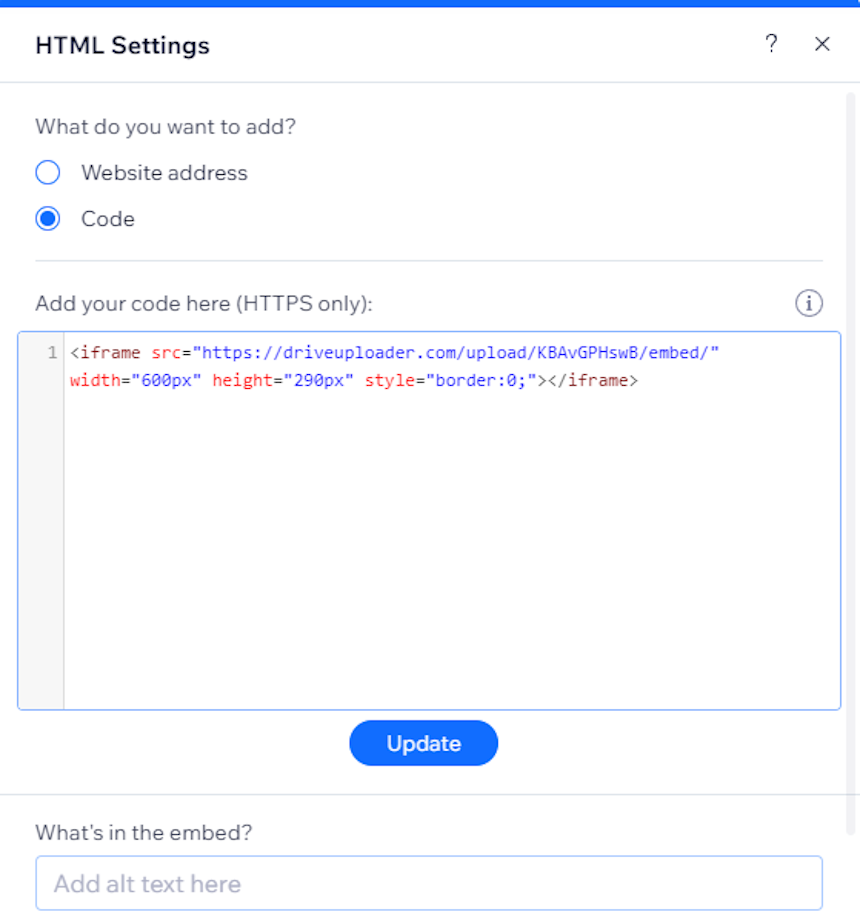
- Add an Embed Code element.
- Select Embed HTML.
- Paste the iframe code from DriveUploader.
- Save and publish your website.

Step 5: Preview your uploader
Open the published page and verify that the uploader appears correctly. Users should now be able to upload files directly from your Wix website without leaving the page.
Troubleshooting
If the uploader does not appear correctly:
- Make sure Enable embedding is turned on.
- Verify that you copied the complete iframe code.
- Ensure that the code was added to an HTML embed element.
Some website settings or third-party extensions may affect iframe rendering.
Summary
To add a DriveUploader to your Wix website:
- Create an uploader in DriveUploader.
- Enable embedding in the Embed tab.
- Copy the iframe code.
- Add the code to an HTML embed element in Wix.
Once published, visitors will be able to upload files directly from your Wix website.
