This tutorial shows how to embed a DriveUploader into your WordPress website so visitors can upload files directly from your page.
Why use a file uploader for your website?
A file uploader allows anyone to submit content directly to your Google Drive, such as images, videos, documents, and other files. Adding a file upload field to your website can save you time and reduce the need for manual communication with users.
Using a file uploader enables user-generated content such as testimonials, reviews, images, or videos. There are many practical use cases across different industries:
- Job applications submitted through your website can be saved directly to a selected folder in Google Drive
- Extension of your ordering process when you need users to upload files (common for print shops or creative services)
- Collecting reviews or testimonials from customers
- Customer support uploads, where users attach documents to help resolve issues
- Uploaders for schools and universities to simplify assignment collection
- Collecting photos and videos from events such as weddings, holidays, or community activities
There are many ways to use a file uploader, and it can significantly simplify how you collect and manage files.
How to create a file uploader for WordPress?
Step 1: Create your uploader
Before embedding, you need to create an uploader in DriveUploader.
- Log in to your DriveUploader account
- Go to My uploaders
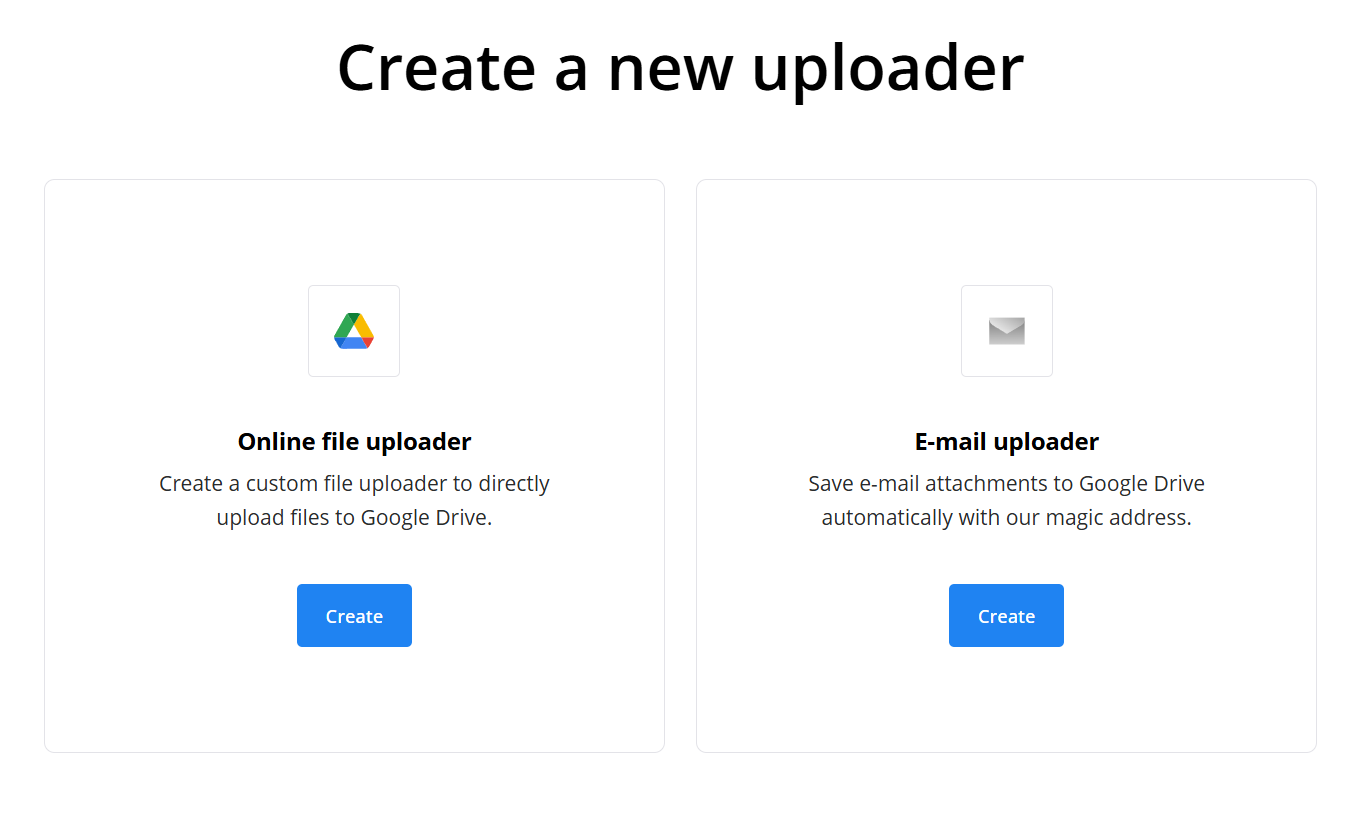
- Click New uploader
- Choose Online file uploader
- Select your destination folder and save the uploader
Step 2: Enable embedding
- Go to My uploaders
- Find your uploader and open it
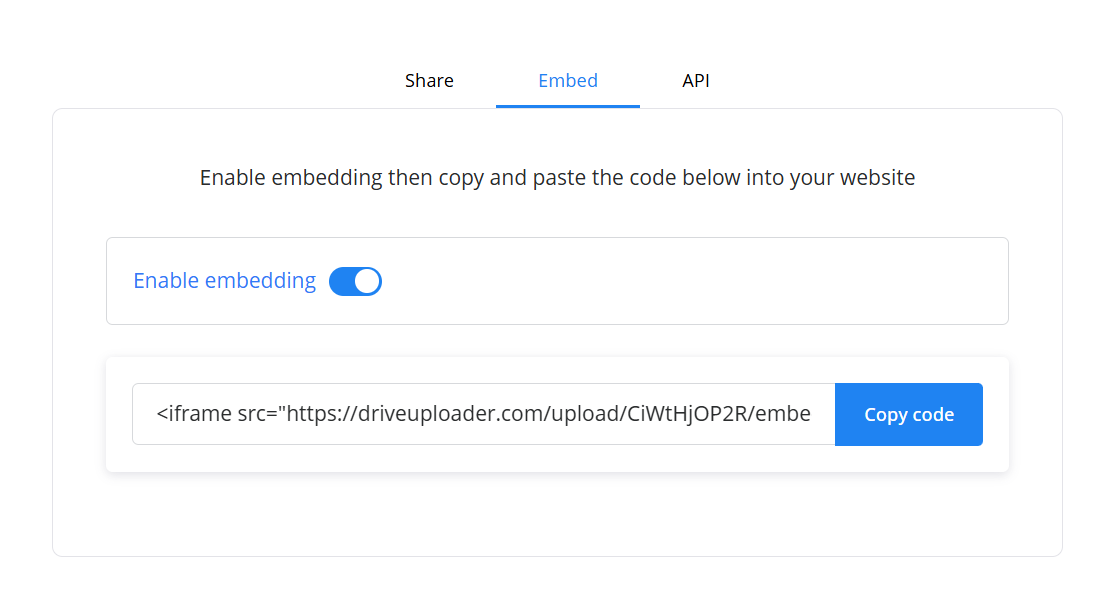
- Navigate to the Embed tab
- Turn on Enable embedding
Embedding will not work unless this option is enabled.
Step 3: Copy the embed code
- In the Embed tab, copy the iframe code
- Keep it ready for the next step
Step 4: Add the uploader to WordPress
- Log in to your WordPress admin panel
- Open the page or post where you want to add the uploader
- Click Edit
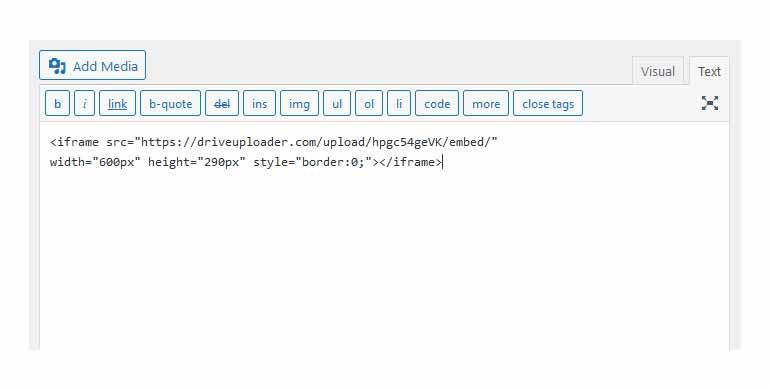
- Add a Custom HTML block
- Paste the iframe code into the block
- Save or update the page
Troubleshooting
If the uploader does not appear correctly:
- Make sure Enable embedding is turned on
- Check that you copied the full iframe code
- Ensure your WordPress editor allows HTML blocks
Some themes or plugins may restrict iframe content.
Summary
Creating a file uploader for WordPress is simple:
- Create an uploader in DriveUploader
- Enable embedding in the Embed tab
- Copy the iframe code
- Paste it into a Custom HTML block in WordPress
Once added, your uploader will be fully integrated into your website.
